Menu
-
Monopoly Go
-
FC 26
-
Diablo 4
-
Madden NFL 26
-
MLB The Show 26
-
Steal a Brainrot
-
Grow A Garden
-
Call of Duty: Black Ops 7
-
ARC Raiders
-
Fallout 76
-
GTA5
-
Path of Exile 2
-
Hero Siege
-
Gop 3
-
Helldivers 2
-
Diablo 2 Resurrected
-
Forza Horizon 6
-
Path of Exile 1
-
Elden Ring
-
NBA 2K26
-
Forsaken
-
Hello Kitty Island Adventure
-
Dinkum
-
Rasalas
-
Eggy Party
-
Knives Out
-
Adopt Me
-
Elden Ring Nightreign
-
Fantasy Life i: The Girl Who Steals Time
-
Stumble Guys
-
Roblox Rivals
-
Fisch
-
The Strongest Battlegrounds
-
Dress To Impress
-
Ink game
-
Dead Rails
-
All Star Tower Defense
-
Brookhaven
-
Anime Eternal
-
Anime Last Stand
-
Bubble Gum Simulator Infinity
-
REMATCH
-
99 Nights in the Forest
-
Pet Simulator 99
-
Aura Kingdom - Impact
-
Warmane
-
Lineage 2M
-
Deadside
-
Minecraft
-
ODIN Valhalla Rising
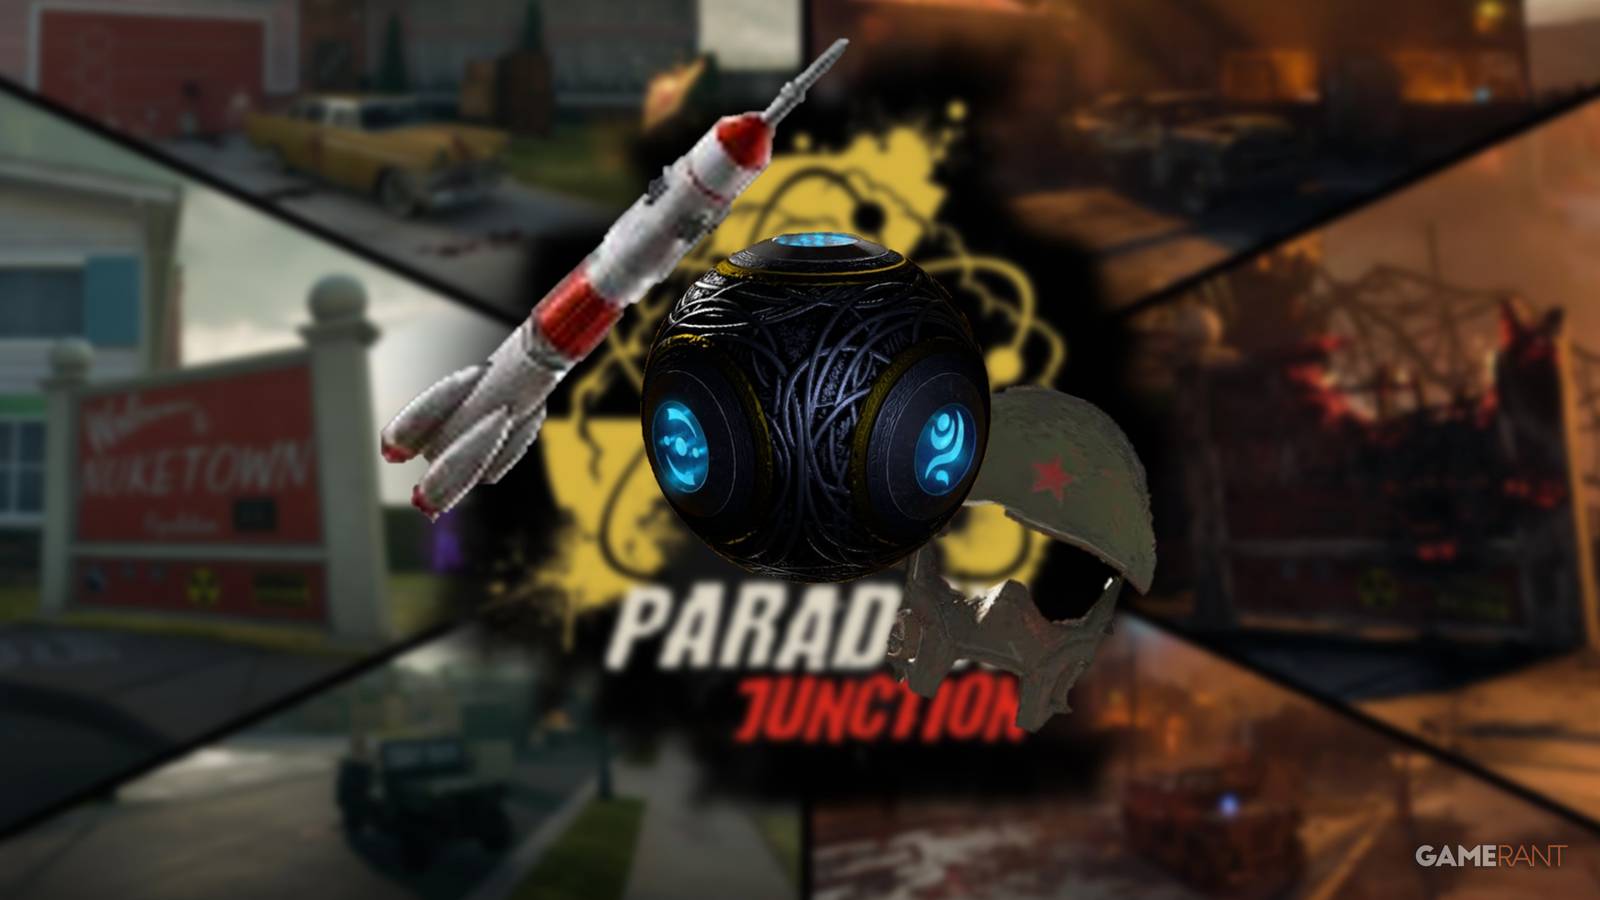
All 3 Paradox Junction Relics in Black Ops 7 Zombies, Fully Decoded
▲ All three Cursed Relics are locked behind Paradox Junction's Cursed Mode — and none of them are obvious
Let me be honest with you. When I first loaded into Paradox Junction's Cursed Mode looking for the relics, I had no idea what I was doing. I wandered around for twenty minutes, triggered something I didn't understand, and died to a Mangler at Round 6 with nothing to show for it. That experience — the confusion, the wasted runs, the slow realization that these relics each have completely different trigger conditions — is exactly why this guide exists.
Paradox Junction is one of the most mechanically dense Zombies maps Black Ops 7 has delivered so far. The Cursed Mode layer on top of it adds a whole separate puzzle system, and the three relics buried inside it — the Mangler Helmet Relic, the Summoning Key Relic, and the Rocket Relic — each demand a different approach, a different mindset, and honestly, a different level of patience. Here's everything you need to know, in the order you should probably do them.
Before You Touch Anything: Cursed Mode Setup
This is the part most guides skip over, and it's the part that kills most runs before they start.
Cursed Mode in Paradox Junction isn't just a difficulty toggle. It fundamentally changes how the map behaves — enemy spawns are altered, certain interactables only appear in Cursed Mode, and the relic triggers are completely invisible unless you've set the mode up correctly from the main menu before loading in.
Why this matters: I've seen players spend 45 minutes in a standard game wondering why the relic trigger points aren't spawning. They weren't in Cursed Mode. The game doesn't tell you this clearly. Now you know.
Pre-run checklist before you even drop in:
| Requirement | Why It Matters |
|---|---|
| Cursed Mode enabled from lobby | Relic triggers only exist in Cursed Mode |
| Pack-a-Punch Tier 2 minimum | Damage check on Relic Trials is unforgiving |
| Juggernog + Speed Cola active | Trial survivability and item interaction speed |
| At least Round 10 reached | Some relic triggers are round-gated |
| Solo or coordinated squad | Uncoordinated squads can accidentally skip triggers |
Get all five of these right before you start hunting. Skipping any one of them is how you end up restarting.
Relic #1: The Mangler Helmet Relic
This one has the most specific setup requirement of the three, which is probably why it confused so many people on launch week.
The Trigger Logic
The Mangler Helmet Relic is tied to a specific enemy interaction — you need to kill a Mangler using only its own helmet as a weapon. That sounds absurd, and it kind of is, but here's the experience chain that makes it click:
When a Mangler's arm cannon is destroyed (shoot the cannon arm, not the body), it enters a staggered state. During this window, the Mangler will drop its helmet as a throwable item. You pick it up, you throw it back at the Mangler, and if the helmet kill lands, the relic trigger activates.
The reason this is hard isn't the concept — it's the execution. The stagger window is short, maybe four to five seconds. The helmet throw has a travel arc that most players aren't used to. And if you accidentally kill the Mangler with gunfire during the stagger, the helmet despawns and you have to find another Mangler.
Reproducible Test Description
> Test conditions: Solo run, Round 12, Cursed Mode active. Mangler spawned in the Transit Hub area.
>
> First attempt: Destroyed the cannon arm successfully, but panicked and shot the Mangler body during the stagger window. Helmet despawned. Run continued, found second Mangler at Round 14.
>
> Second attempt: Destroyed cannon arm, immediately holstered weapon (crucial — this stops accidental shots), picked up helmet within 2 seconds, threw at Mangler from roughly 8 meters. Helmet connected, Mangler died, relic trigger activated with a distinct audio cue.
>
> The holster step is the key. Nobody mentions it. Without holstering, muscle memory will make you shoot.
After the Trigger
Once the relic trigger fires, a glowing portal appears near the Mangler's death location. Enter it within 30 seconds — the portal closes after that. Inside, you'll find the Mangler Helmet Relic on a pedestal. Interact with it to collect.
Relic #2: The Summoning Key Relic
This one is more of a scavenger hunt than a combat challenge, and it's the one that rewards players who actually explore the map rather than running the same loop every game.
The Two-Item Setup
The Summoning Key Relic requires you to collect two specific items from the map before the trigger becomes available. The items are randomized in location between runs — they can appear in different rooms each time — but they always spawn within the same general zones.
Item 1 — The Fractured Orb: Found in the lower sections of the map, typically near the power room or the adjacent corridor. It glows faintly blue and sits on surfaces rather than being held by enemies.
Item 2 — The Resonance Fragment: This one is trickier. It only appears after Round 8, and it spawns near high-traffic zombie paths. The reason it spawns there specifically is tied to the map's internal logic — the Fragment is drawn to zombie energy, so it appears where zombies have been killed in high volume. Farm your early rounds in one consistent area and the Fragment will almost always appear nearby.
The Down Mechanic — Yes, Really
Here's the part that genuinely surprised me and apparently surprised most of the community too. Once you have both items, you need to intentionally go down while holding them. Not die — go into Last Stand, then be revived (or self-revive with a Tombstone setup).
The reason this works is that the Summoning Key Relic's trigger is tied to a "near-death resonance" mechanic — the game checks whether you've entered Last Stand while carrying both items. It's a deliberate design choice that forces you to take a risk, which fits the Cursed Mode theme perfectly.
After the revive, a new interactable appears at the map's central junction point. Interact with it to claim the Summoning Key Relic.
Relic #3: The Rocket Relic
The Rocket Relic is the hardest of the three. Not because the steps are complicated, but because the Relic Trial it gates behind is a timed combat challenge that will absolutely punish underprepared loadouts.
Finding the Portal
The Rocket Relic trigger is the most straightforward of the three — it activates automatically once you reach Round 15 in Cursed Mode. At that point, a portal spawns in the upper section of the map, near the launch platform area. The portal is large and hard to miss, but it only stays open for 60 seconds, so if you're in the middle of a horde when it appears, you need to disengage fast.
The Relic Trial: What You're Actually Fighting
Inside the portal is a self-contained arena. The trial has three waves:
| Wave | Enemy Composition | Time Limit | Key Threat |
|---|---|---|---|
| Wave 1 | Standard zombies + 2 Manglers | 90 seconds | Mangler cannon pressure |
| Wave 2 | Disciples + armored zombies | 75 seconds | Disciple healing aura |
| Wave 3 | Elite Mangler + zombie swarm | 60 seconds | Elite Mangler has 3x HP |
The time limits are strict. Wave 3 in particular — the 60-second clock against an Elite Mangler — is where most players fail. The Elite Mangler doesn't just have more health; it moves faster and its cannon has a wider spread.
Why the Rocket Launcher Is the Right Tool Here
I know it sounds on-the-nose given the relic's name, but the actual strategic reason to bring a Pack-a-Punched rocket launcher into this trial is the splash damage interaction with the armored zombie clusters in Wave 2. Armored zombies in BO7 have directional damage reduction on their front facing — rockets bypass this because splash damage doesn't have a facing calculation. A single well-placed rocket in Wave 2 can clear three to four armored zombies simultaneously, which is the difference between making the timer and missing it.
For the Elite Mangler in Wave 3, aim for the cannon arm first (same logic as Relic #1 — it staggers the Elite), then switch to a high-damage primary for the body. Don't waste rockets on the swarm in Wave 3; let them come to you and use a shotgun or SMG for crowd control while saving rockets for the Elite.
Reproducible Test Description
> Test conditions: Solo, Round 16 entry, Pack-a-Punch Tier 3 on primary (LMG), Tier 2 on rocket launcher, Juggernog + Deadshot + Speed Cola active.
>
> Wave 1 completed in 67 seconds. Wave 2 was the close call — entered with 4 seconds to spare after the Disciple healing aura slowed kills significantly. Wave 3: destroyed Elite Mangler cannon arm at 48 seconds remaining, finished body at 22 seconds remaining.
>
> Total trial time: approximately 3 minutes 40 seconds. Relic collected from pedestal at trial completion.
Full Relic Comparison: At a Glance
Here's the complete breakdown for players who want the reference table before diving in:
| Relic | Trigger Condition | Key Mechanic | Hardest Part | Recommended Round |
|---|---|---|---|---|
| Mangler Helmet | Kill Mangler with its own helmet | Stagger window + throw | Avoiding accidental gunfire | Round 10–14 |
| Summoning Key | Collect 2 items + go down | Intentional Last Stand | Finding Fragment spawn | Round 8–12 |
| Rocket Relic | Reach Round 15, enter portal | Timed 3-wave trial | Elite Mangler in Wave 3 | Round 15–18 |
The recommended order is Summoning Key first (it's the most passive to set up while you're naturally progressing), then Mangler Helmet (mid-game when Manglers spawn reliably), then Rocket Relic last (it requires the highest gear investment and round count).
A Note on Efficiency: The Bot Lobby Advantage
Here's something the community doesn't talk about enough — a lot of the early relic discovery and optimization happened in bot lobby environments, where players could test trigger conditions repeatedly without the pressure of live zombie hordes.
If you're trying to learn the mechanics before committing to a full Cursed Mode run, or if you want to practice the Rocket Relic trial timing without burning through real runs, [U4GM.com](https://www.u4gm.com) offers BO7 Bot Lobby services that give you a controlled environment to work through these steps at your own pace. It's a legitimate way to learn the map geometry, practice the Mangler helmet throw arc, and understand the portal timing without the chaos of a live game punishing every mistake. For players who are newer to BO7's Zombies mechanics specifically, that kind of low-pressure practice environment is genuinely valuable before you attempt the real thing.
The Honest Assessment: Are These Relics Worth It?
Yes. But not for the reasons you might think.
The relics themselves provide gameplay modifiers in Cursed Mode — the Mangler Helmet Relic gives a damage resistance buff against Mangler attacks, the Summoning Key Relic unlocks an additional mystery box location, and the Rocket Relic grants a one-time orbital strike consumable per run. None of these are game-breaking. None of them make Cursed Mode trivially easy.
What they do is give you a reason to engage with Paradox Junction's design at a deeper level than most Zombies maps ask for. The Mangler Helmet mechanic specifically is one of the most creative enemy interactions Treyarch has put into a Zombies map in years — it rewards players who understand enemy behavior rather than just players who shoot the most.
The Rocket Relic trial, frustrating as it is on the first few attempts, is genuinely well-designed. The three-wave structure with escalating time pressure creates a specific kind of tension that regular Zombies rounds don't. When you clear Wave 3 with eight seconds on the clock, it feels earned in a way that most Zombies content doesn't.
That's the experience chain these relics are built around. Not just collecting items — learning the map, learning the enemies, and coming out the other side with a clearer understanding of what makes Paradox Junction tick.
Go get them. All three. In that order.