菜单
-
Monopoly Go
-
FC 26
-
Diablo 4
-
Grow A Garden 2
-
MLB The Show 26
-
Steal a Brainrot
-
College Football 27
-
Call of Duty: Black Ops 7
-
ARC Raiders
-
Fallout 76
-
GTA5
-
Path of Exile 2
-
Hero Siege
-
Palworld
-
Helldivers 2
-
Gop 3
-
Forza Horizon 6
-
Path of Exile 1
-
Elden Ring
-
NBA 2K26
-
The Strongest Battlegrounds
-
Dress To Impress
-
Ink game
-
Grow A Garden
-
All Star Tower Defense
-
Roblox Rivals
-
Brookhaven
-
Rematch
-
Dead Rails
-
Aura Kingdom - Impact
-
Pet Simulator 99
-
Anime Last Stand
-
Bubble Gum Simulator Infinity
-
Borderlands 4
-
Aion Classic
-
ROM: Golden Age
-
Battlefield 6
-
Goddess of Victory Nikke
-
Dungeon Stalkers
-
Doors
-
Climb and Jump Tower
-
Brainrot Evolution
-
Garden Tower Defense
-
Fisch
-
99 Nights in the Forest
-
Forsaken
-
Growtopia
-
Hello Kitty Island Adventure
-
The Finals
-
Farming Simulator 25
How to do the Locked Gate Event in Arc Raiders
It’s one of those moments where everything can swing in an instant—one wrong move and you’re feeding your kit to some squad that’s been sitting in the shadows, waiting. But when you pull it off, when that massive gate grinds open and you step into those tunnels stuffed with legendary blueprints and high-value loot? Nothing else compares. I’ve run this event dozens of times, sometimes solo, sometimes with randoms shouting in proximity chat, and I’ve learned the hard way what works and what gets you sent back to the lobby with nothing but regrets.
The January Headwinds update shook things up a little—solo vs. squads matchmaking made lone-wolf runs slightly less punishing, and some of the map flow on Blue Gate feels tighter now. But the core of Locked Gate remains the same: high risk, insane reward, and a whole lot of player interaction you can’t avoid.

Here’s the Blue Gate map for reference. The event almost always triggers here, and the Gate Control Room sits right in that marked zone near the Warehouse Complex and Checkpoint. Memorize those sightlines.
What the Locked Gate Actually Is
At its heart, Locked Gate is a lobby-wide objective. A huge reinforced gate blocks access to underground tunnels loaded with top-tier loot—think Bobcat blueprints, rare weapon mods, and stacks of valuables that can set you up for weeks. To override the lock, four security codes have to be found and inputted at the Gate Control Room terminal. These codes spawn in fixed POI areas scattered across Blue Gate. Anyone can pick them up, anyone can input them, and once all four are in, the gate opens for everyone still alive.
That’s where the magic—and the mayhem—happens. You’ll see temporary alliances form in proximity chat, eight randoms suddenly working together against ARC threats while nervously watching each other. Then, the second that gate starts moving, it all falls apart. Shots ring out. Someone always tries to third-party the winners.
I remember one run vividly. I spawned near the Village, grabbed the first code almost immediately, and heard a trio coordinating on mic. We linked up, cleared the Warehouse code together, and made it to the Control Room with three. The fourth guy showed up alone, hands up, begging to input his. We let him. Gate opened. Thirty seconds later, a completely different squad rotated from Pilgrim’s Peak and wiped all eight of us. Classic ARC Raiders.
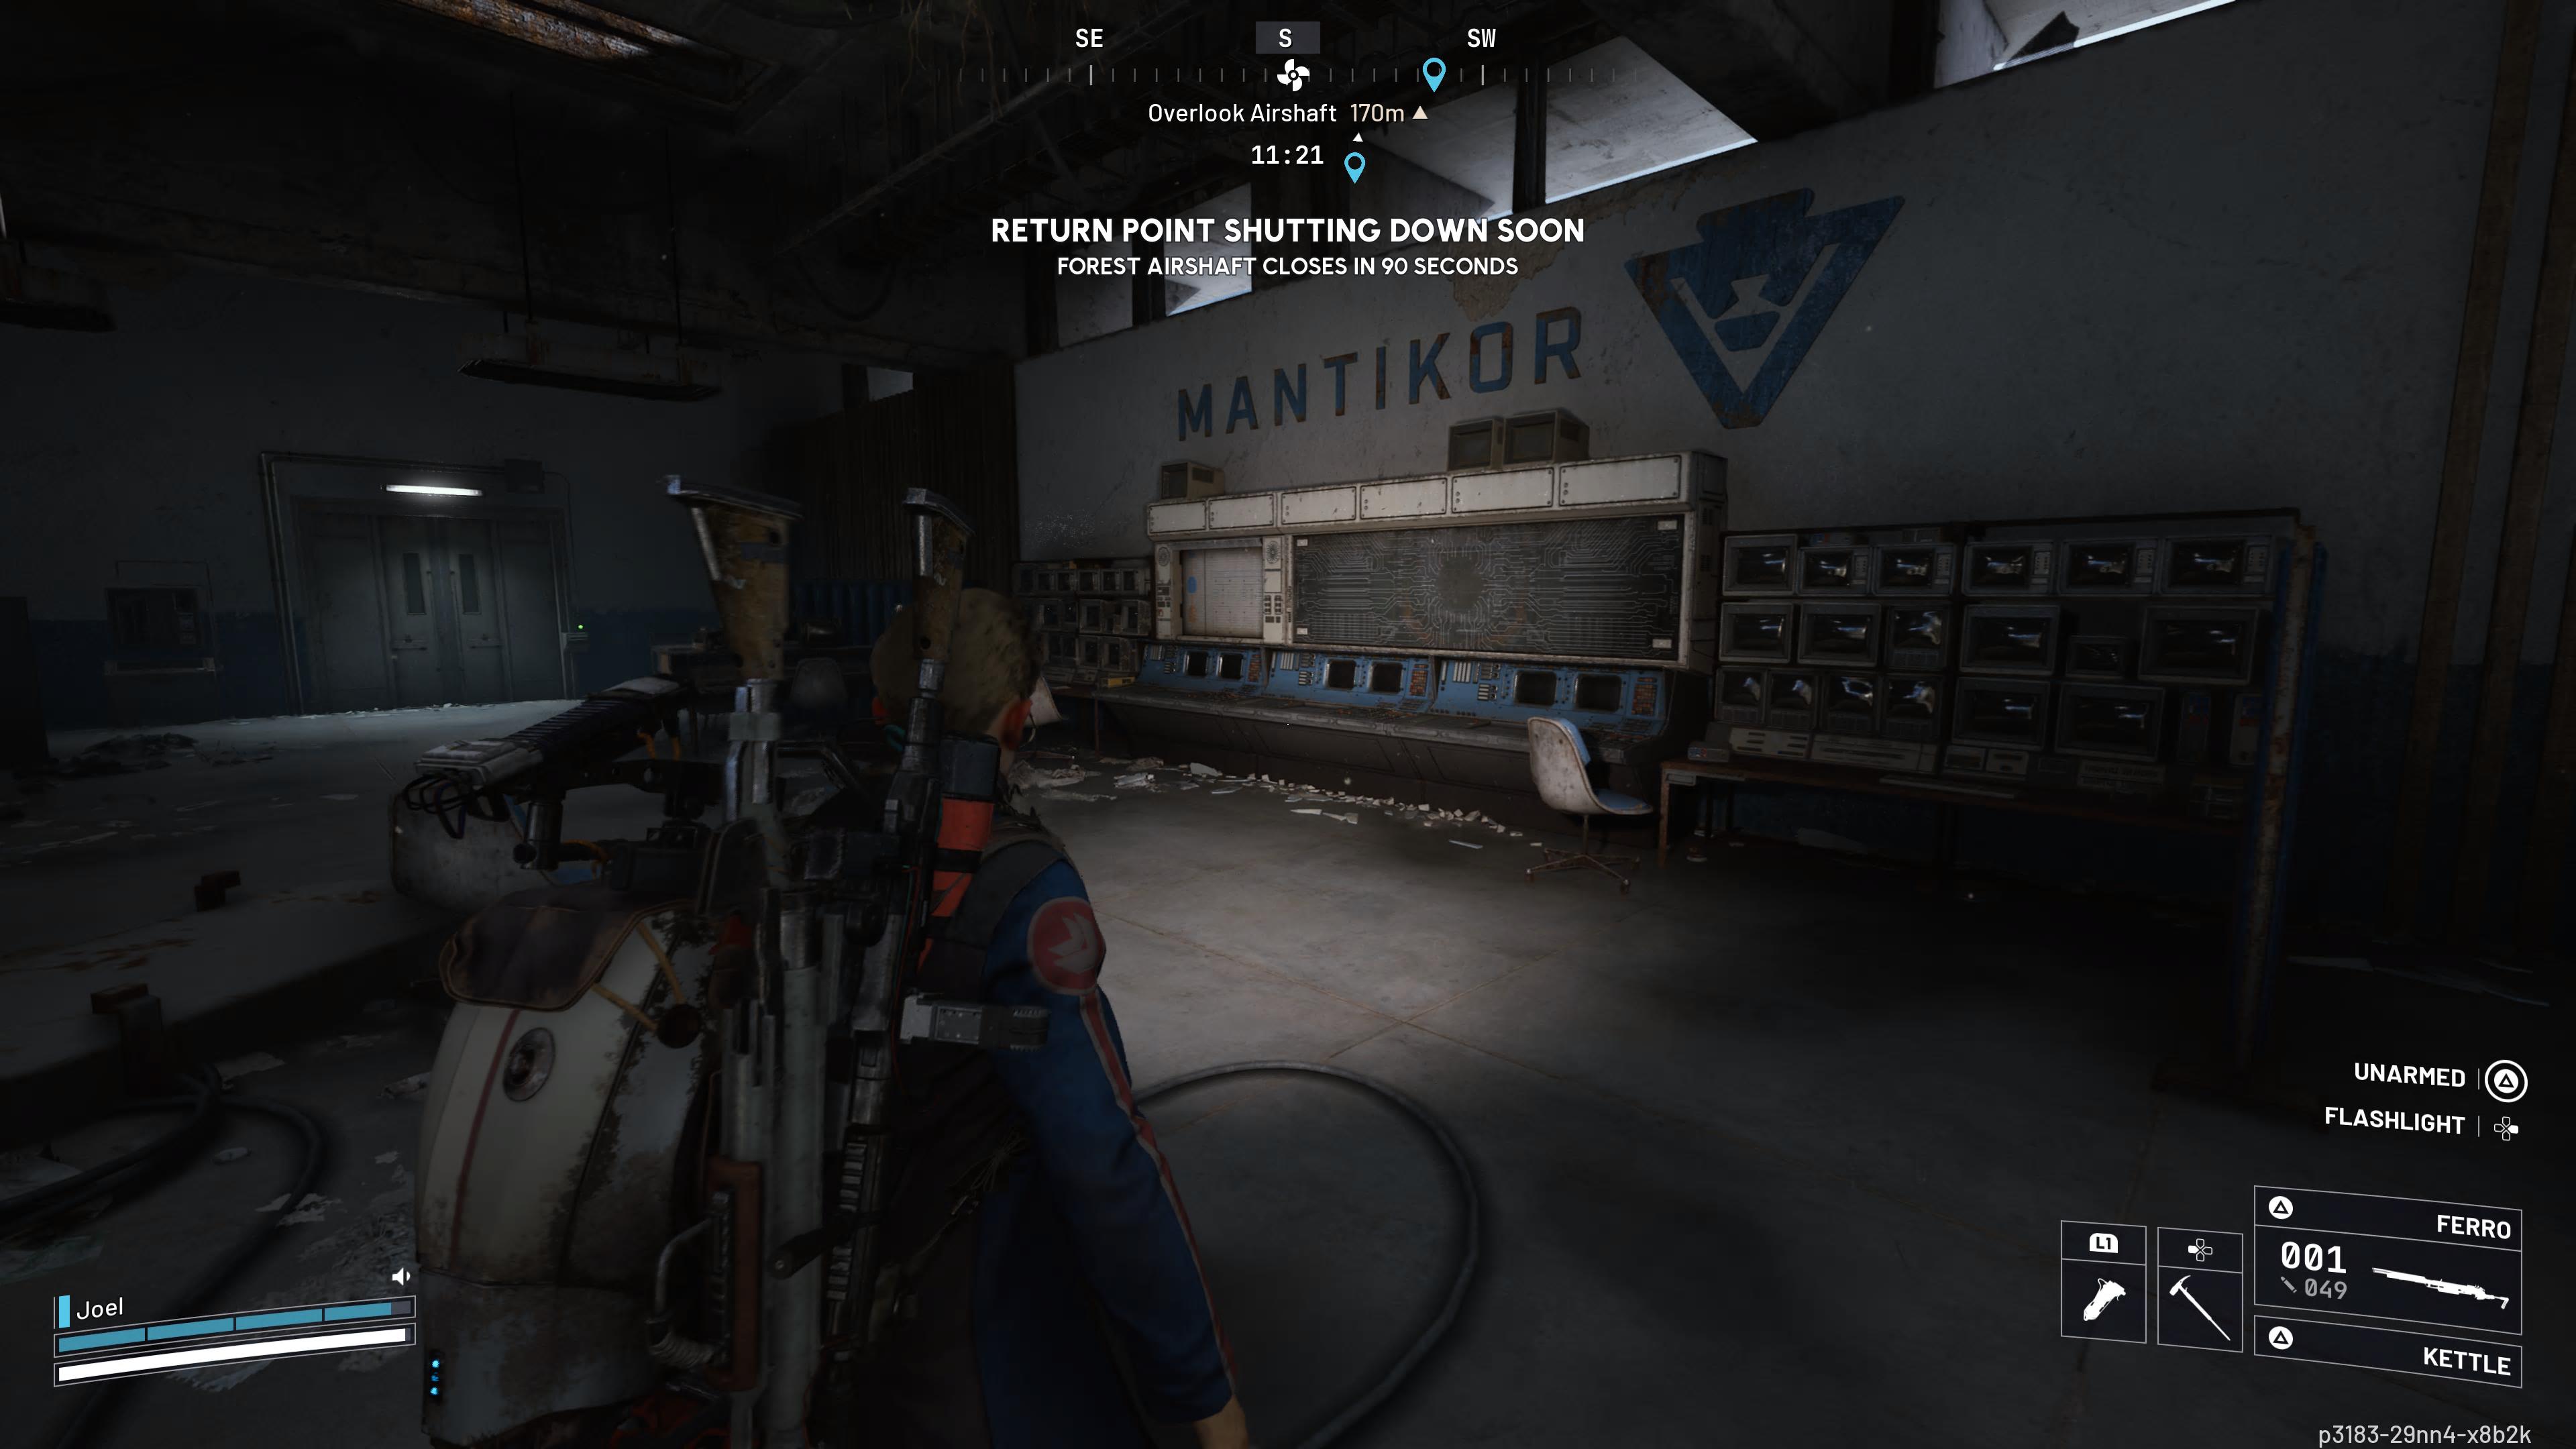
That’s the Control Room interior. Tight corridors, limited angles, perfect for holding if you get there early.
Preparing Properly – Why Your Loadout Choices Matter
You don’t just queue into Locked Gate with whatever junk you have lying around. The fights here are almost always mid-to-close range, in built-up areas with plenty of cover and multiple entry points. I used to run heavy long-range kits thinking I’d pick people off from afar. Wrong. By the time you’re rotating for codes, the circle of players collapses fast, and you end up in 20-50 meter firefights.
That’s why I now prioritize versatility over specialization. The Anvil assault rifle series is my go-to primary because it handles recoil well, has solid time-to-kill at the distances you actually fight here, and carries enough ammo to sustain through multiple engagements without constant resupply. Pair it with a fast-handling SMG like the Stinger for room clears, and you’re covered across the spectrum.
Armor is non-negotiable—Level 3 at minimum. I’ve tested cheaper kits in budget runs, and the difference is night and day. One extra plate can turn a lost fight into a win when you’re holding the terminal.
Here’s a quick breakdown of loadouts I’ve refined over about thirty focused runs:
| Loadout Style | Primary | Reason for the Choice | Secondary | Key Gear & Consumables |
|---|---|---|---|---|
| Balanced Aggressive | Anvil AR | Reliable mid-range damage, manageable recoil in sustained fights around POIs | Stinger SMG | Level 3 armor, 2 frags, extra mags, painkillers |
| Stealth/Rotator | Suppressed Lance | Lower profile when moving between code spawns, still lethal up close | Pistol | Level 3 armor, smoke grenades, large backpack |
| Budget/High-Risk | Kettle SMG | Cheap, sprays well in CQC once the gate opens | None | Level 2 armor, stims, whatever ammo you find |
I ran the balanced aggressive setup in fifteen consecutive raids after the Headwinds patch and extracted with loot eight times. That’s reproducible enough for me to recommend it confidently.
If you’re grinding progression and need solid gear fast, some players buy ARC Raiders items on U4GM.com to skip the early struggle. I’ve seen plenty of well-kitted raiders who clearly didn’t farm every piece themselves.
That hazy industrial vibe is exactly what you’re running through when hunting codes.
Step-by-Step Strategy – How I Approach It Now
- Drop smart. Check the flight path. Try to land near one known code spawn—Village, Reinforced Reception, Warehouse Complex, or the Checkpoint area. Early code means early leverage.
- Grab and communicate. If you get a code, announce it in proximity. “Got Village code, heading Control.” You’ll either attract allies or scare off solos. Both are useful information.
- Rotate carefully. Don’t sprint straight to the Control Room with one code and ten minutes left. Loot quietly, watch rotations, listen for fights. Let other players clear ARC threats or thin each other out.
- Position at the Control Room. This is the crux. If you arrive with two or more codes and the room is empty, hold it. Angles are strong, and you can force others to come to you. I’ve won multiple 1v3s here just by pre-aiming doors.
- Input and defend. Once all four are in, the gate sequence starts. That’s your window—rush the tunnels, grab the best crates first, and immediately plan extraction. Don’t linger.
- Know when to bail. If a full squad is already camping the terminal and you’re solo or duo, cut losses. Grab side loot and extract. Forcing it rarely pays off.
I tested a “camp early” strategy over ten runs: drop directly on Control Room, fortify, wait for code carriers. It worked four times, but the other six I died to better-positioned teams before the first code even arrived. Not worth it unless you’re queued with friends.
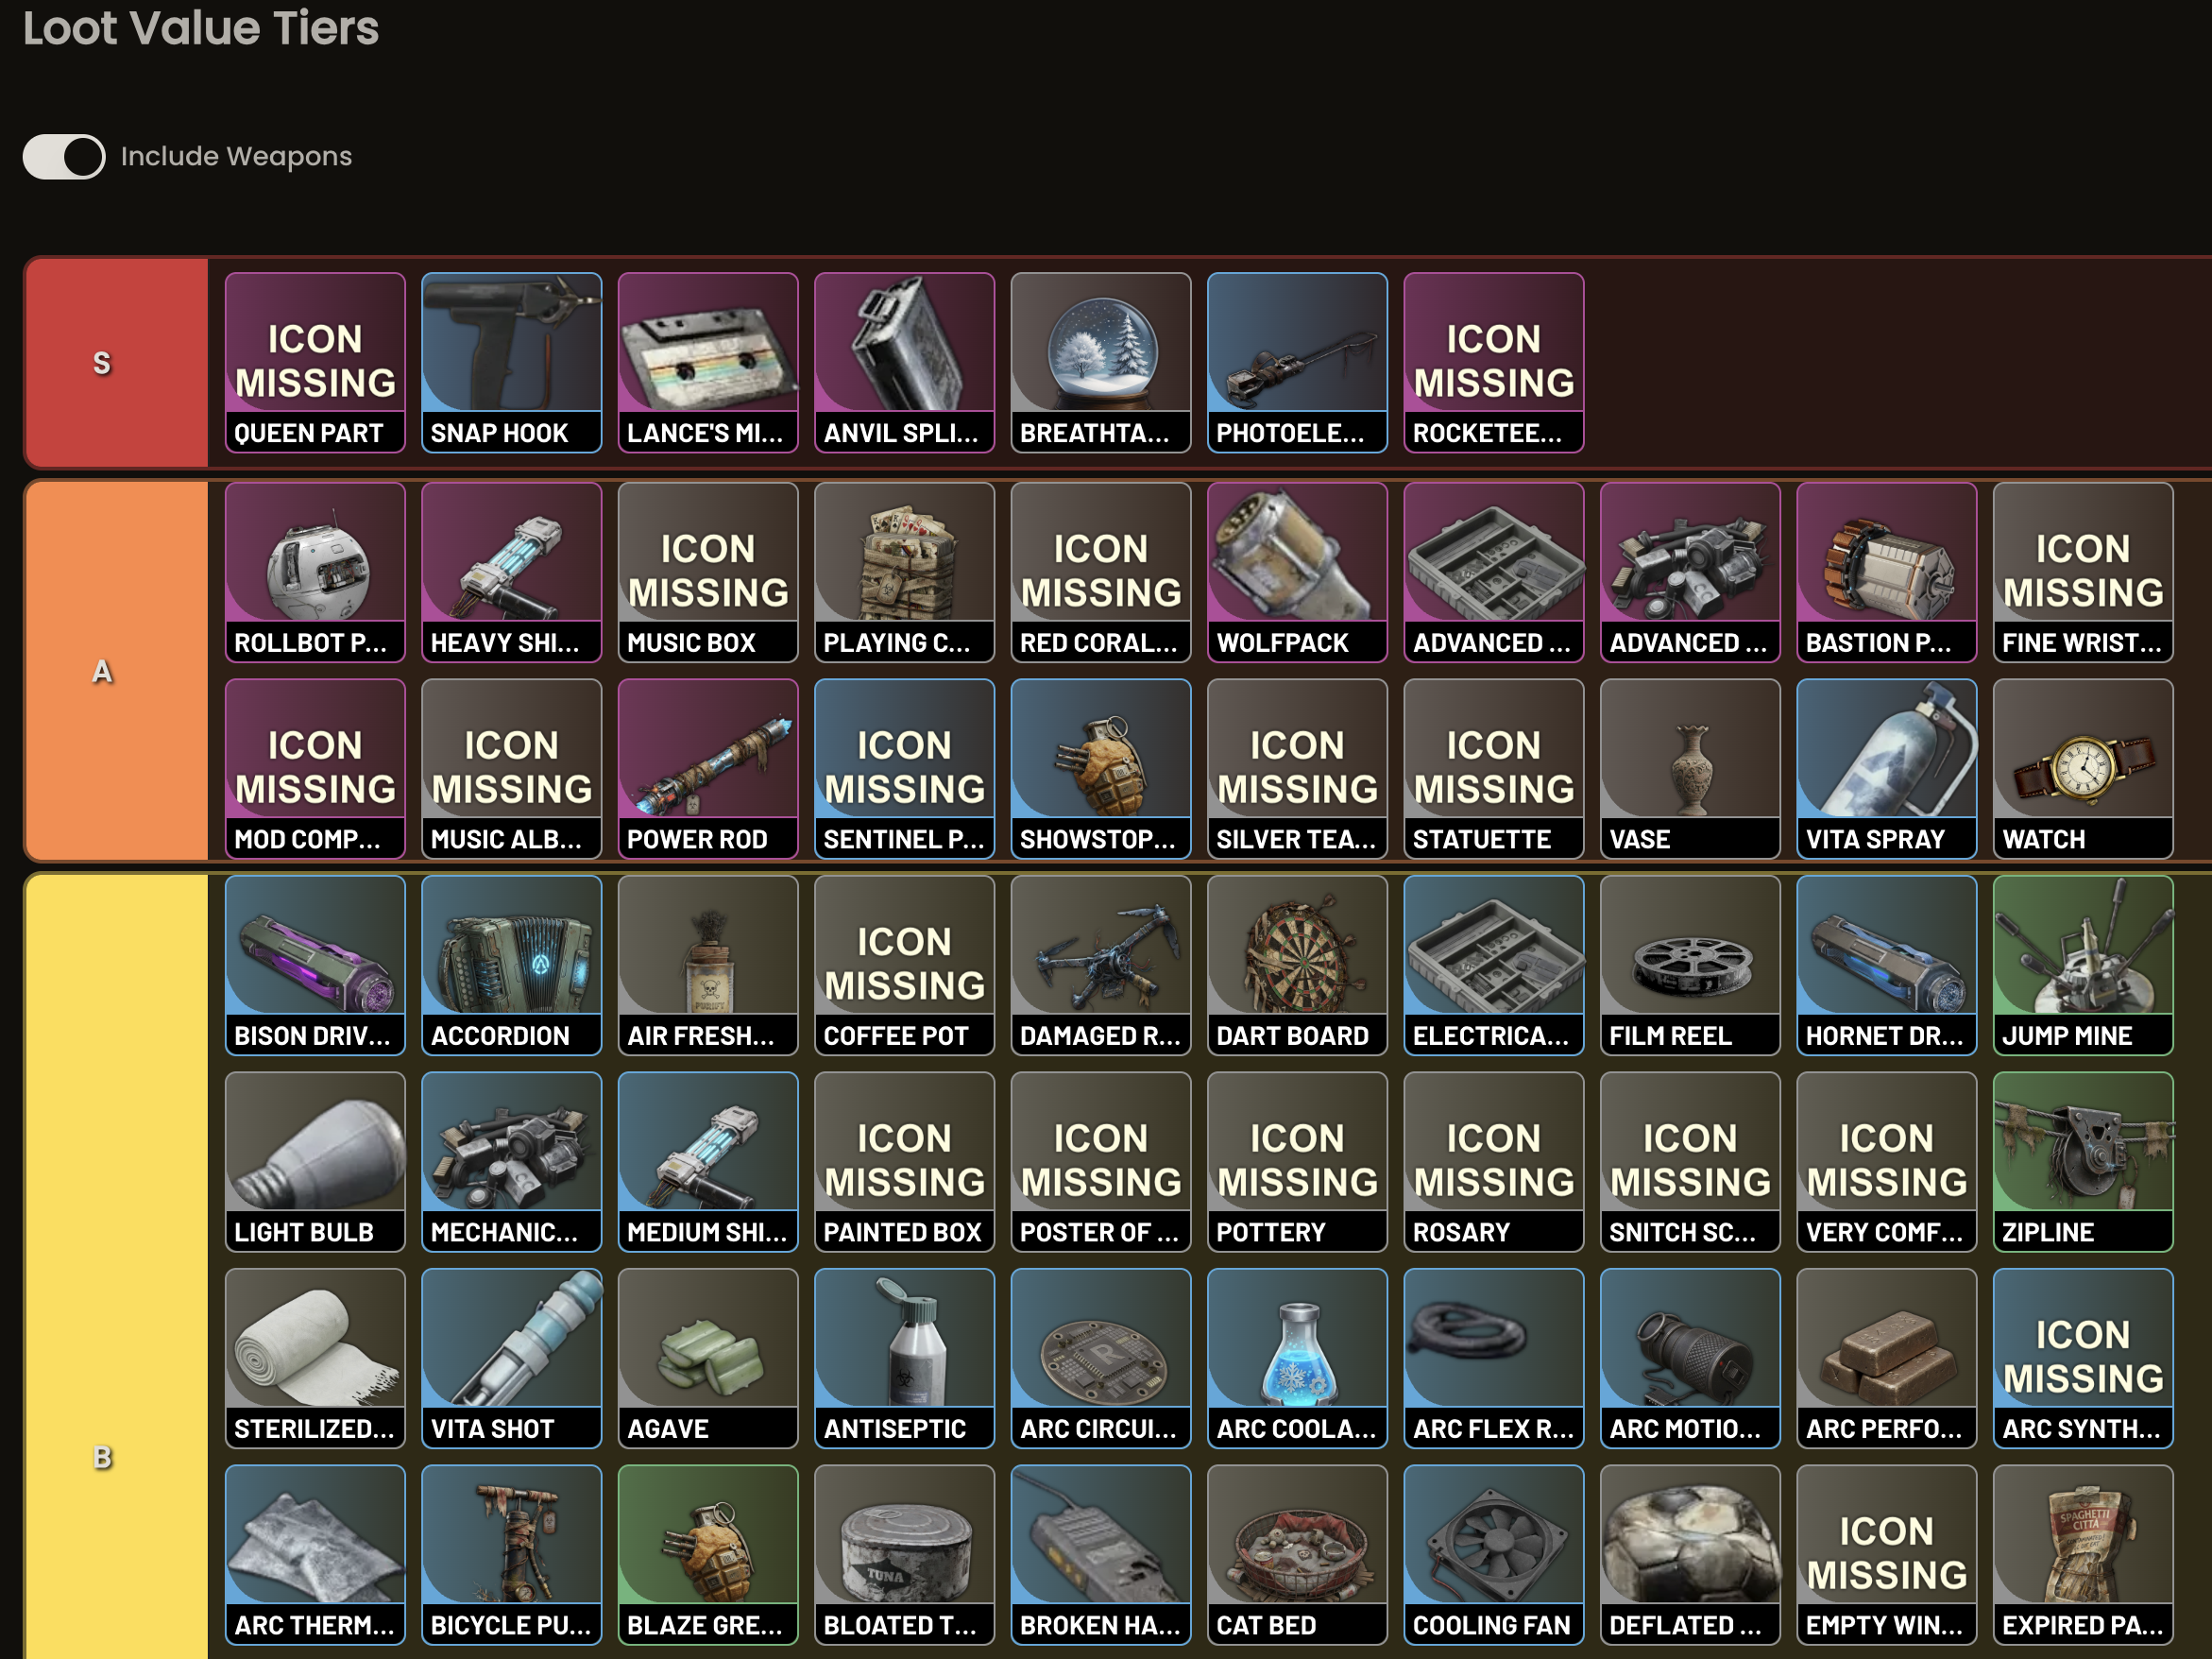
This loot tier chart helps prioritize what to grab once the gate opens. Blueprints and S-tier items first.
Advanced Plays and Personal Takes
Solo runs became viable after the Headwinds solo-queue changes, but they still demand patience. Hang back, let squads fight over codes, then mop up the survivors. I’ve extracted legendary blueprints this way more than once.
Teams of three or four dominate the event, no question. Voice comms turn it into something almost cooperative—until the gate opens.
My honest opinion after hundreds of hours? Locked Gate is peak ARC Raiders design. It forces real interaction in a genre that can sometimes feel like silent looting simulators. The tension is unmatched. But it can also feel unfair when a geared squad camps the entire match and denies everyone else. Still, that risk is what makes the payoff sweet.
If you’re chasing those underground crates, gear up sensibly, play the rotations, and don’t get greedy. See you on the surface, raiders. Stay sharp.