菜单
-
Monopoly Go
-
FC 26
-
Diablo 4
-
Grow A Garden 2
-
MLB The Show 26
-
Steal a Brainrot
-
College Football 27
-
Call of Duty: Black Ops 7
-
ARC Raiders
-
Fallout 76
-
GTA5
-
Path of Exile 2
-
Hero Siege
-
Palworld
-
Helldivers 2
-
Gop 3
-
Forza Horizon 6
-
Path of Exile
-
Elden Ring
-
NBA 2K26
-
The Strongest Battlegrounds
-
Dress To Impress
-
Ink game
-
Grow A Garden
-
All Star Tower Defense
-
Roblox Rivals
-
Brookhaven
-
Rematch
-
Dead Rails
-
Aura Kingdom - Impact
-
Pet Simulator 99
-
Anime Last Stand
-
Bubble Gum Simulator Infinity
-
Borderlands 4
-
Aion Classic
-
ROM: Golden Age
-
Battlefield 6
-
Goddess of Victory Nikke
-
Dungeon Stalkers
-
Doors
-
Climb and Jump Tower
-
Brainrot Evolution
-
Garden Tower Defense
-
Fisch
-
99 Nights in the Forest
-
Forsaken
-
Growtopia
-
Hello Kitty Island Adventure
-
The Finals
-
Farming Simulator 25
Where to Find Humidifiers in Arc Raiders
I've been raiding the surface in ARC Raiders since launch back in October, and honestly, it's hooked me harder than I expected. Embark Studios nailed that tense extraction loop—scavenging under the shadow of those massive ARC machines, heart pounding during a hot exfil with a backpack full of loot. But nothing grinds my gears quite like hitting a wall on specific quest items. Right now, with the Raider's Expedition pushing everyone to upgrade their hideouts, humidifiers are the bottleneck for a lot of players. Those chunky white units that recycle into essential materials for frameworks and air systems. You need five just for one basic upgrade, and they don't drop like common junk.
I remember my first week chasing them blindly. I'd loot entire residential blocks, flip every drawer, and come back empty-handed more often than not. Frustrating. Then I started paying attention to community chatter and running my own tests. That's when things clicked. If you're in the same boat—dry air in your hideout and zero progress—stick with me. I'll break down the spots that actually work, why I prioritize them, and how to approach the runs safely.
The State of the Raid: Post-January Patch Thoughts
Before diving into locations, quick note on where the game sits today. The January 1.11.0 update dropped a couple days ago, adding the Abyss cosmetic set (those deep-sea inspired skins look slick on the heavier armor sets) and tweaking some pain points. Trigger Nades and the Kettle got nerfed a bit—less spam in close quarters, which feels fair. PvP encounters are cleaner now, though I still hate getting kettled from a rooftop.
More exciting are the dev teases for 2026. Multiple new maps are confirmed, some potentially huge. If they deliver on that scale, with varied biomes and ARC threats, this could cement ARC Raiders as my go-to extraction shooter. For now, though, we're grinding the existing topside zones.
Why Humidifiers Matter (And Why the Hunt Feels Rough)
These aren't just random loot. Humidifiers tie directly into hideout progression—recycling them gives the plastics and electronics needed for air filtration frameworks. Skip them, and your Speranza base stays basic: slower crafting queues, worse buffs for raids. I prioritize hideout upgrades because they compound over time. Better air systems mean passive health regen between runs, which saves stims topside.
The drop rates feel tuned for longevity, which I respect from a design standpoint. But when an expedition demands ten or more, it can burn you out. That's where smart routing comes in.
Here's the humidifier itself—bulky, worth decent credits if you sell, but don't. Recycle always.
Top Humidifier Farming Spots: Tested and Ranked
After dozens of raids focused purely on these, I've narrowed it to three reliable areas. I ran a reproducible test over 20 consecutive Buried City drops (solo, medium risk settings, daytime for visibility). Goal: hit the primary spot first, then branch if needed. Results at the end.
| Location | Map | Specific Spot | Approximate Success Rate | Why This Route Over Others |
|---|---|---|---|---|
| Red Tower Lockers | Buried City | Second floor, row of red/orange lockers opposite stairs | 90%+ | Near-guaranteed spawn, low bot presence early raid, quick in-and-out (under 3 minutes from drop) |
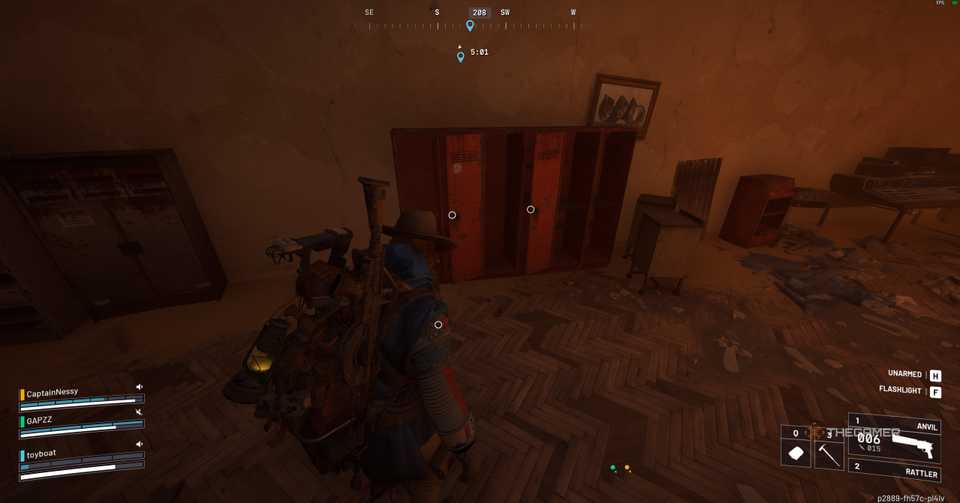
| Grandioso Apartments | Buried City | Drawers and suitcases in residential units | 60-70% | High container density, good for chaining with Red Tower if primary fails |
| Pattern House Apartments | Dam Battlegrounds | Pale and Ruby units, filing cabinets | 50-65% | Safer from PvP hotspots, multiple potential spawns per building |
| Library Backrooms | Buried City | Desks and back storage | 40-50% | Bonus loot (books for other quests), but higher ARC patrol risk |
I choose Red Tower first because the risk-reward is unmatched. It's central on Buried City, easy to path toward safe exfils, and the lockers are fixed spawns. Dam Battlegrounds gets my nod when I want variety—the apartments feel less contested mid-raid.
Strategy Breakdown: How I Run These Farms Safely
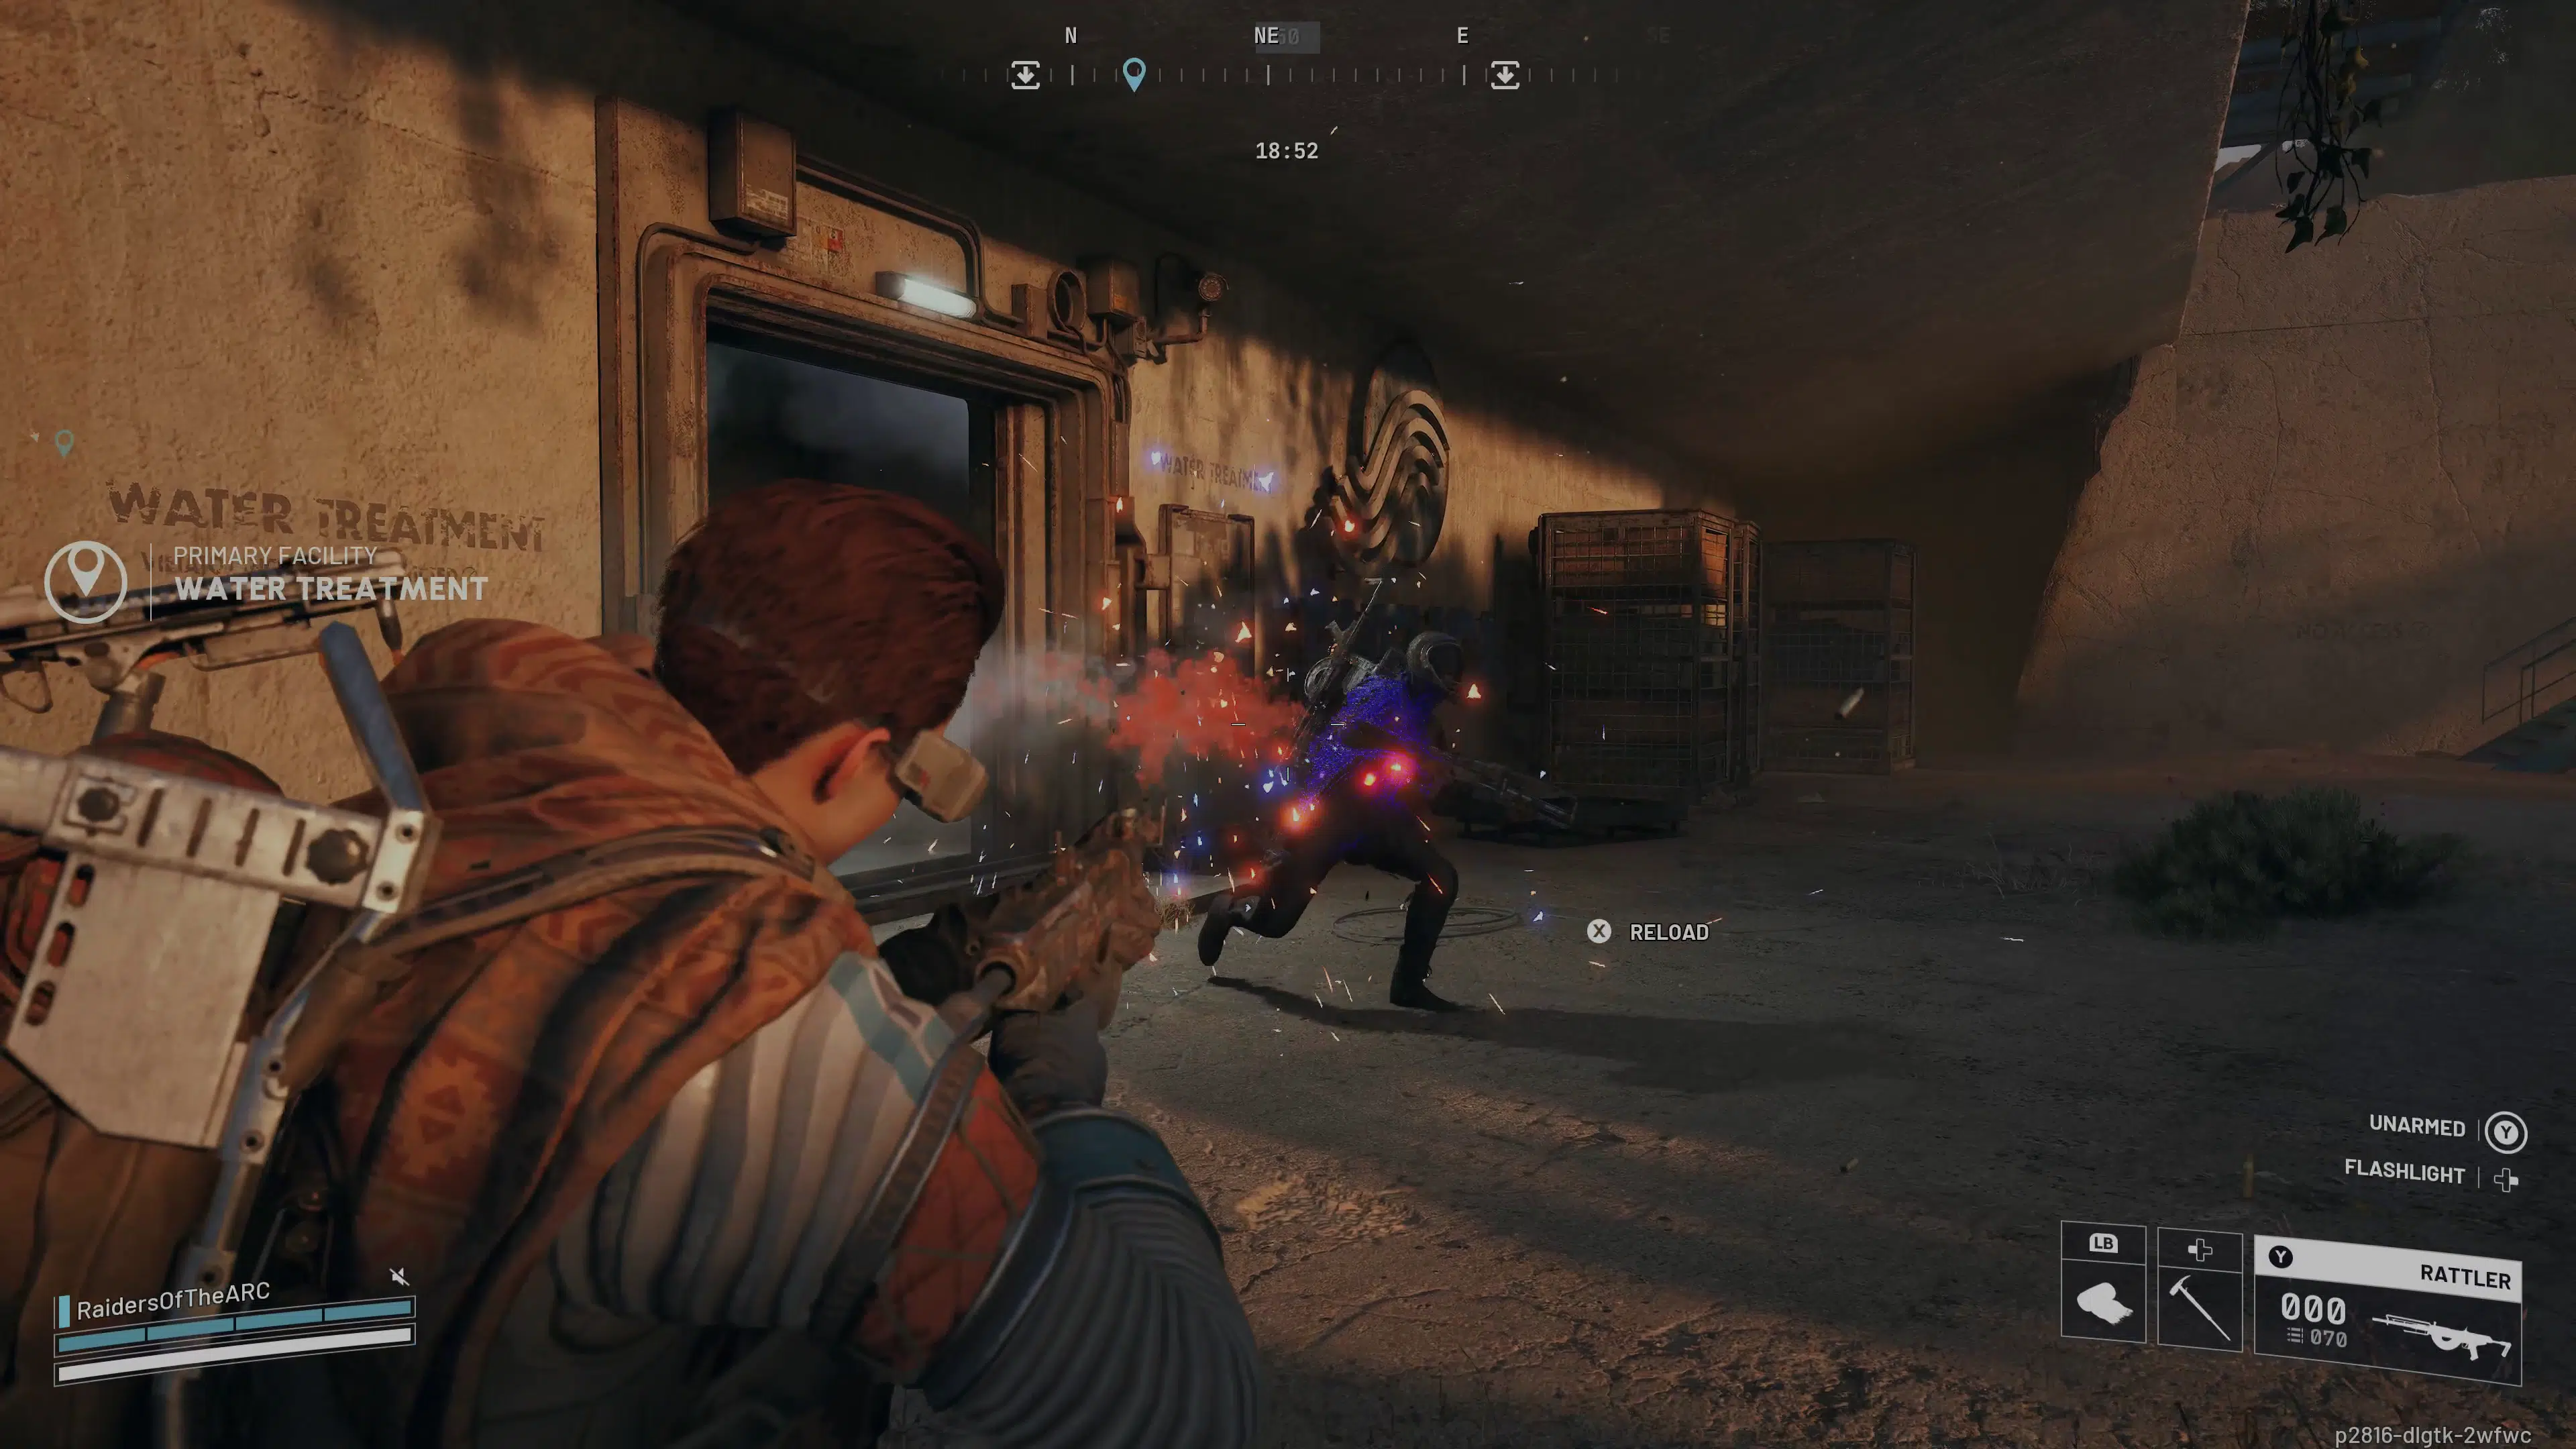
Solo queuing? Stick to daytime Buried City drops. The visibility helps spot players early, and bots are predictable. Loadout wise, I run suppressed SMG for quiet clears, light armor for speed, and always one healing item. Pathing is key: drop far from Red Tower hotspots, move building-to-building using cover.
In my experience chain, I started aggressive—rushing the tower immediately—and died to camped squads too often. Shifted to patient play: wait three minutes raid start, let hotdroppers fight elsewhere, then slip in. Success rate jumped from 40% extraction with humidifier to over 80%.
For squads, Dam apartments shine. One player watches sightlines while others loot. Night raids up the tension (and ARC aggression), but humidifier spawns don't change—only do those if you're chasing rare night-only drops.
Reproducible test results from those 20 runs: 18 humidifiers from Red Tower primary (one miss was contested, one server glitch). Secondary spots added 7 more when I branched. Average raid time: 12 minutes. Extraction success: 17/20. Solid data for anyone skeptical.
When the Grind Gets Too Dry: Third-Party Options
Look, I love the loop, but real life hits. Deadlines, family stuff—sometimes you just need progress. I've topped up credits and materials through U4GM.com before. They're quick for ARC Raiders items, reliable delivery, and let you skip the pure grind when an expedition timer looms. Use reputable sites, obviously, but it's saved my progression more than once.
Your hideout matters—better frameworks, cleaner air.
Final Take: Worth the Surface Risk
ARC Raiders keeps surprising me. The atmosphere is oppressive in the best way—those massive machines lumbering in the distance while you pick through ruined homes. Humidifier hunting exemplifies what's great: purposeful scavenging with real progression stakes.
With new maps coming this year, I'm optimistic. If Embark keeps this balance—challenging but fair—I'll be raiding through 2026 easy.